Dance Dance Revolution II O Drivers, Microcontrollers, and Homebrew
libmmmagic
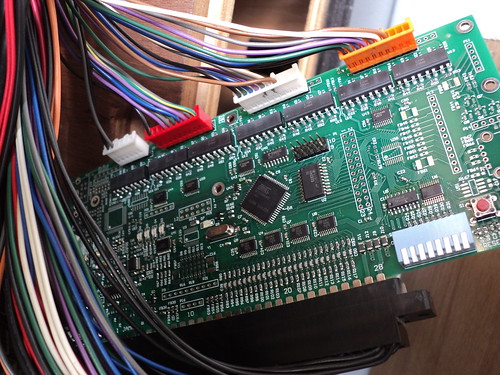
The very first arcade machine I got was a first generation DDR cabinet. At the time, a very knowledgeable member of the community was developing an input board called the MiniMaid (of Space Balls MegaMaid fame). This board took the analog and digital IO connectors from the legacy PlayStation based hardware to the pads, as well as the lighting connectors and jamma blade, then through a closed source replacement dll, drove lights in home-brew applications. Input was handled through a keyboard endpoint present on the device. It even had a video amplifier to connect PC style voltage to arcade levels and output that over jamma.

The MiniMaid Device
The biggest issue with the MiniMaid was that integration only worked on a single piece of home-brew and even then, only worked on old versions of Windows. I wrote a multiplatform library to simplify threading and dispatch of lighting signals to the minimaid, libmmmagic, and released it open source. This library then went on to permit several other projects such as MMMame to pass lights through the MAME interop SDK, a dolphin plugin to analyze the audio in the Wii games and generate light patterns via fast fourier transforms, and then a refined version of this that worked for any application.
libmmmagic Showcase
Legacy P3IO and EXTIO
I eventually got an official Japanese DDR computer complete with IO board (The Python 3, or P3IO for short) and boy did I want to use it and play official software and home-brew much like with the MiniMaid. I had already learned a lot from making libmmmagic, but now it was time to learn how to approach a totally foreign device. The first thing to do was crack open the computer and see how everything connected. As suspected by inspecting the operating system, everything was USB and serial ports. The game ran on an old Japanese version of Windows XP embedded so I needed to create an old version of usbpcap than ran on this, and make the companion filter driver.The next step was to backup the drive and then commit the modifications to it so they were persistent at boot and will automatically launch the capturing software. I booted the system several times while recording the screen so I could match time-codes. I entered the test menu of the game when booted and triggered each input and each output individually. I saved the information then gathered the captures and brought them over to a modern machine with Wireshark. I then aligned the packets with the operations happening on screen from my recording and started looking for patterns in what I saw happening.
After learning how the basics of USB worked, I was eventually able to discern a sub-protocol and a sub-sub-protocol (more on this later) present in the data streams. I documented this and named the sub-protocol the pythonio command stream. From there, I starting making some test applications that consumed the data and then rendered the input to the screen, and triggered the output lights. This required some additional work with the COM ports in addition to USB.
The bass neon lights (broken on my cabinet so you cannot see them) and dance stage lights communicate through a serial device called the EXTIO. The EXTIO is also used to put the stage lights into a test mode to cycle through each individual sensor and test them. In normal operation, their inputs are all ORed together. This extra device is a simple serial protocol I was able to use Microsoft's supplied Portmon application to dump it's communication. After that, I presented it in tandem with the video recording and USB captures to get an idea of what operation triggered what. The EXTIO protocol proved simple enough to control the lights. While reading the individual sensors would have been nice, but the homebrew didn't support a test mode that would make use of it's TDMA protocol, and it would have been very specialized to add it in. In the end, a user could just press each sensor individually if they wanted to check them in operation, or use official software. I made the decision not to implement the sensor tests for these reasons.
When I had opened the computer, I noticed the card readers also connected via serial, but this time to a header on the USB P3IO board. However, there was no endpoint for a comport in the USB descriptors. Instead, the board uses a sub-sub-protocol to handle reading and writing to this com port on the board for the readers. Testing the readers in the test menu confirmed this in the USB payloads I saw. At this point, I didn't really have a use for the card readers, so I left code for this alone. It was a little odd to work with anyway since it had to communicate strangely through this endpoint.
I then compiled my tests into usable POC's using both Stepmania 5 and OpenITG to demonstrate feasibility. I later fleshed out the support in OpenITG since it ran on the official hardware with little modification after I TOTALLY REHABBED the entire Windows build process and updated it's weofully outdated dependencies. I then focused on enhancements and optimizations to Stepmania 5 to allow it to be more performant on the stock computer and integrated the code into my personal branch.
Modern P3IO, HDXB, and DDRS
I am a showman at heart. I like things that look impressive and make you feel like you are actually immersed in the action. For as long as they have existed, I have always wanted a Japanese exclusive, deluxe black HD DDR cabinet. It's easy to see why. Gone are the single colored spotlights and 15khz resolution CRTs with a sound system from a decade in the past. This new cabinet upgraded everything to RGB lights, added few extra panel buttons, integrated card readers and USB ports, renders the games in high definition, and added my personal favorite item, the light spires (and monitor underlighting which is technically the 7th spire)! And so, after saving and saving, I finally managed to get one of my own. This game is so special to me, and considering it's age, I wanted to be sure it could be saved and useful when it is eventually abandoned.
<
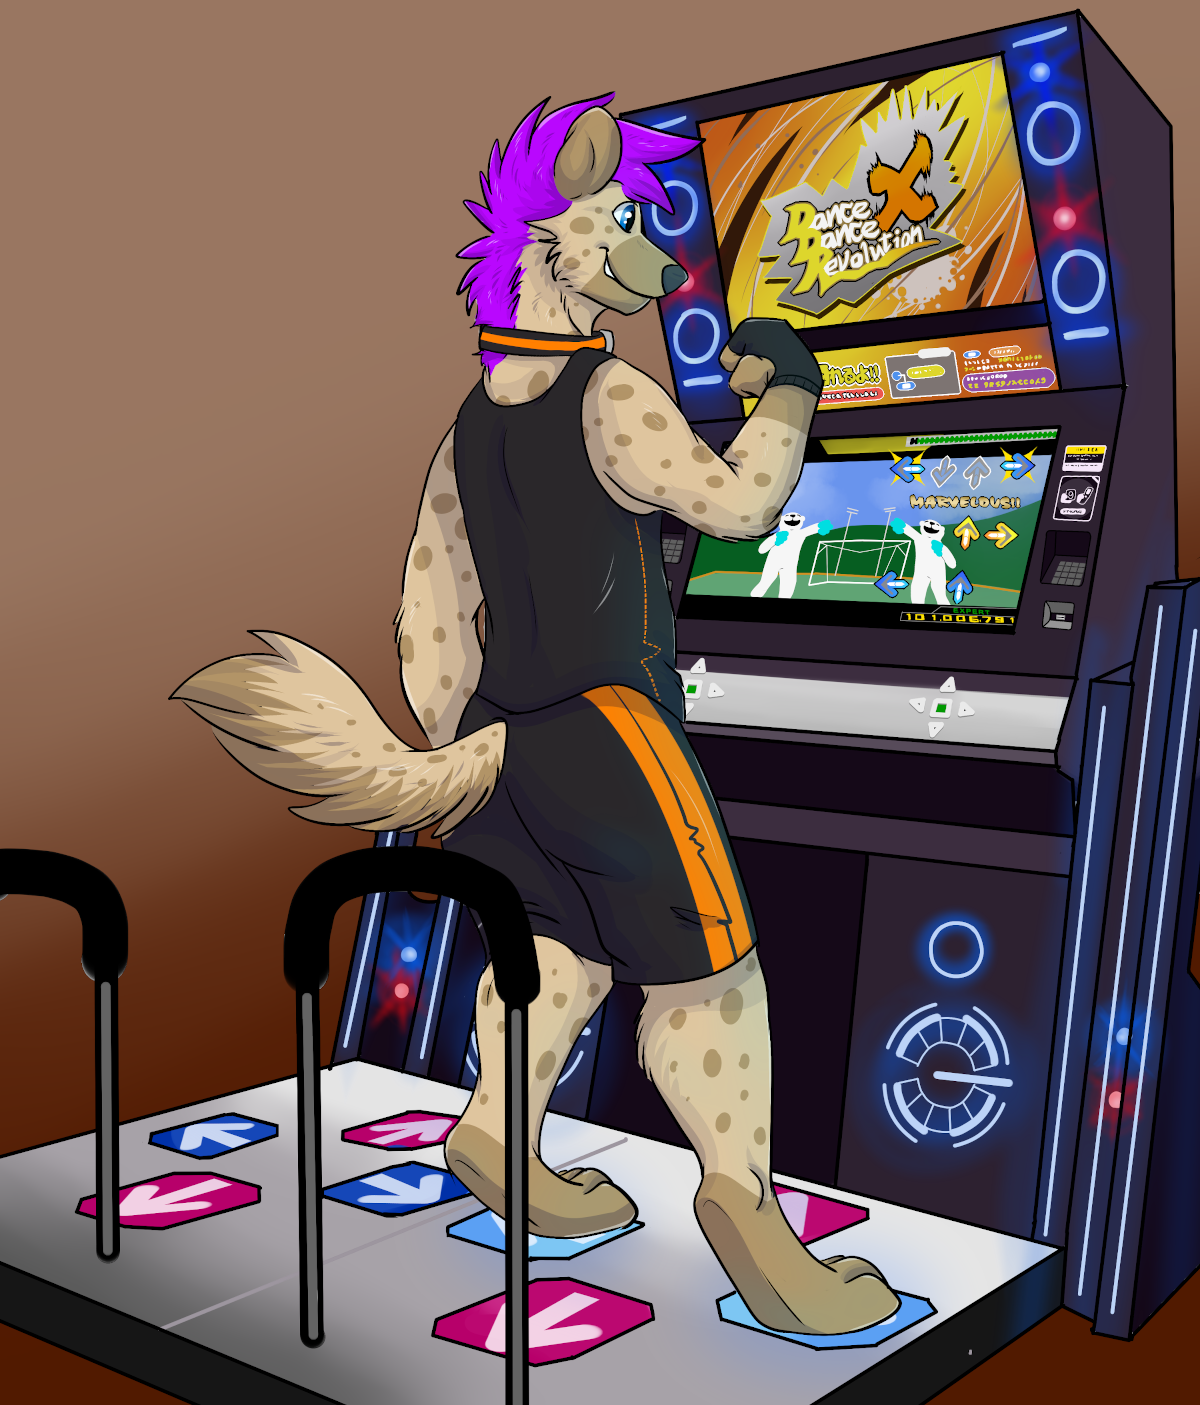
Illustration of my character, Ginji, playing on a deluxe cabinet by CandidCoyote
Immediatly, I got to work with the same process as before. Sniff the USB and COM port lines and study their content. Surprisingly, this was very similarly engineered to how the original legacy cabinet worked. Additional hardware was just added on. The main USB interface board, the P3IO, repurposed the static marquee and button panel lights for the red and blue LEDs you see on the illustration. The extra button inputs were able to be shoehorned into the normal payload of jamma input, so that was the easiest thing to handle (though the values do float on legacy cabinets).
The lights around the speakers are RGB but controlled through the aforementioned sub-sub-protocol. This protocol is known as ACIO, and it was incapsulated in a P3IO command stream. ACIO works by daisy chaining devices along the bus and querying them based on their node id. To control the RGB lights and button panel lights, a device called HDXB was added to the ACIO chain by the virtual COM port at node index 3. This meant I needed to add support to talk this new ACIO protocol AND discover how the device operated as well.
The light spires (and monitor underlight) were connected to their own com port on the actual computer itself. Using Portmon from Microsoft, I was able to determine this is a variant of ACIO using exclusively broadcasts and they identify themselves as DDRS devices. Unfortunately the spires are VERY complicated and have a very deep decision forest / state machine. I was only able to determine a few of the commands as it is very complex. Though my captures are documented, if anyone wants to continue work. I have a Renesas chip programmer I may be able to dup the MCU firmware off of one and figure out how it operates in due time.
As you probably saw from the full code commits from the legacy section, I then added RGB light support to my drivers and allowed them to use these extra modules in Stepmania and OpenITG. Then I gave the code away to the projects for the end users. Here are videos of OpenITG and Stepmania 5 running on the deluxe cabinet. These builds are posted publicly for anyone to use. The links posted earlier have all of this content built in.
Preservation of HDXB and DDRS
As the HDXB and DDRS devices are exclusive to the deluxe model of cabinet, and given the absolute rarity of the model, I felt it was my duty to try to preserve this and document it as best I could in case the hardware fails some day. I added ACIO broadcast support and the proper HDXB node chain to to an ACIO atmel project as a PR and it was tested working. You can see that PR here.
P2IO and DDRIO-python
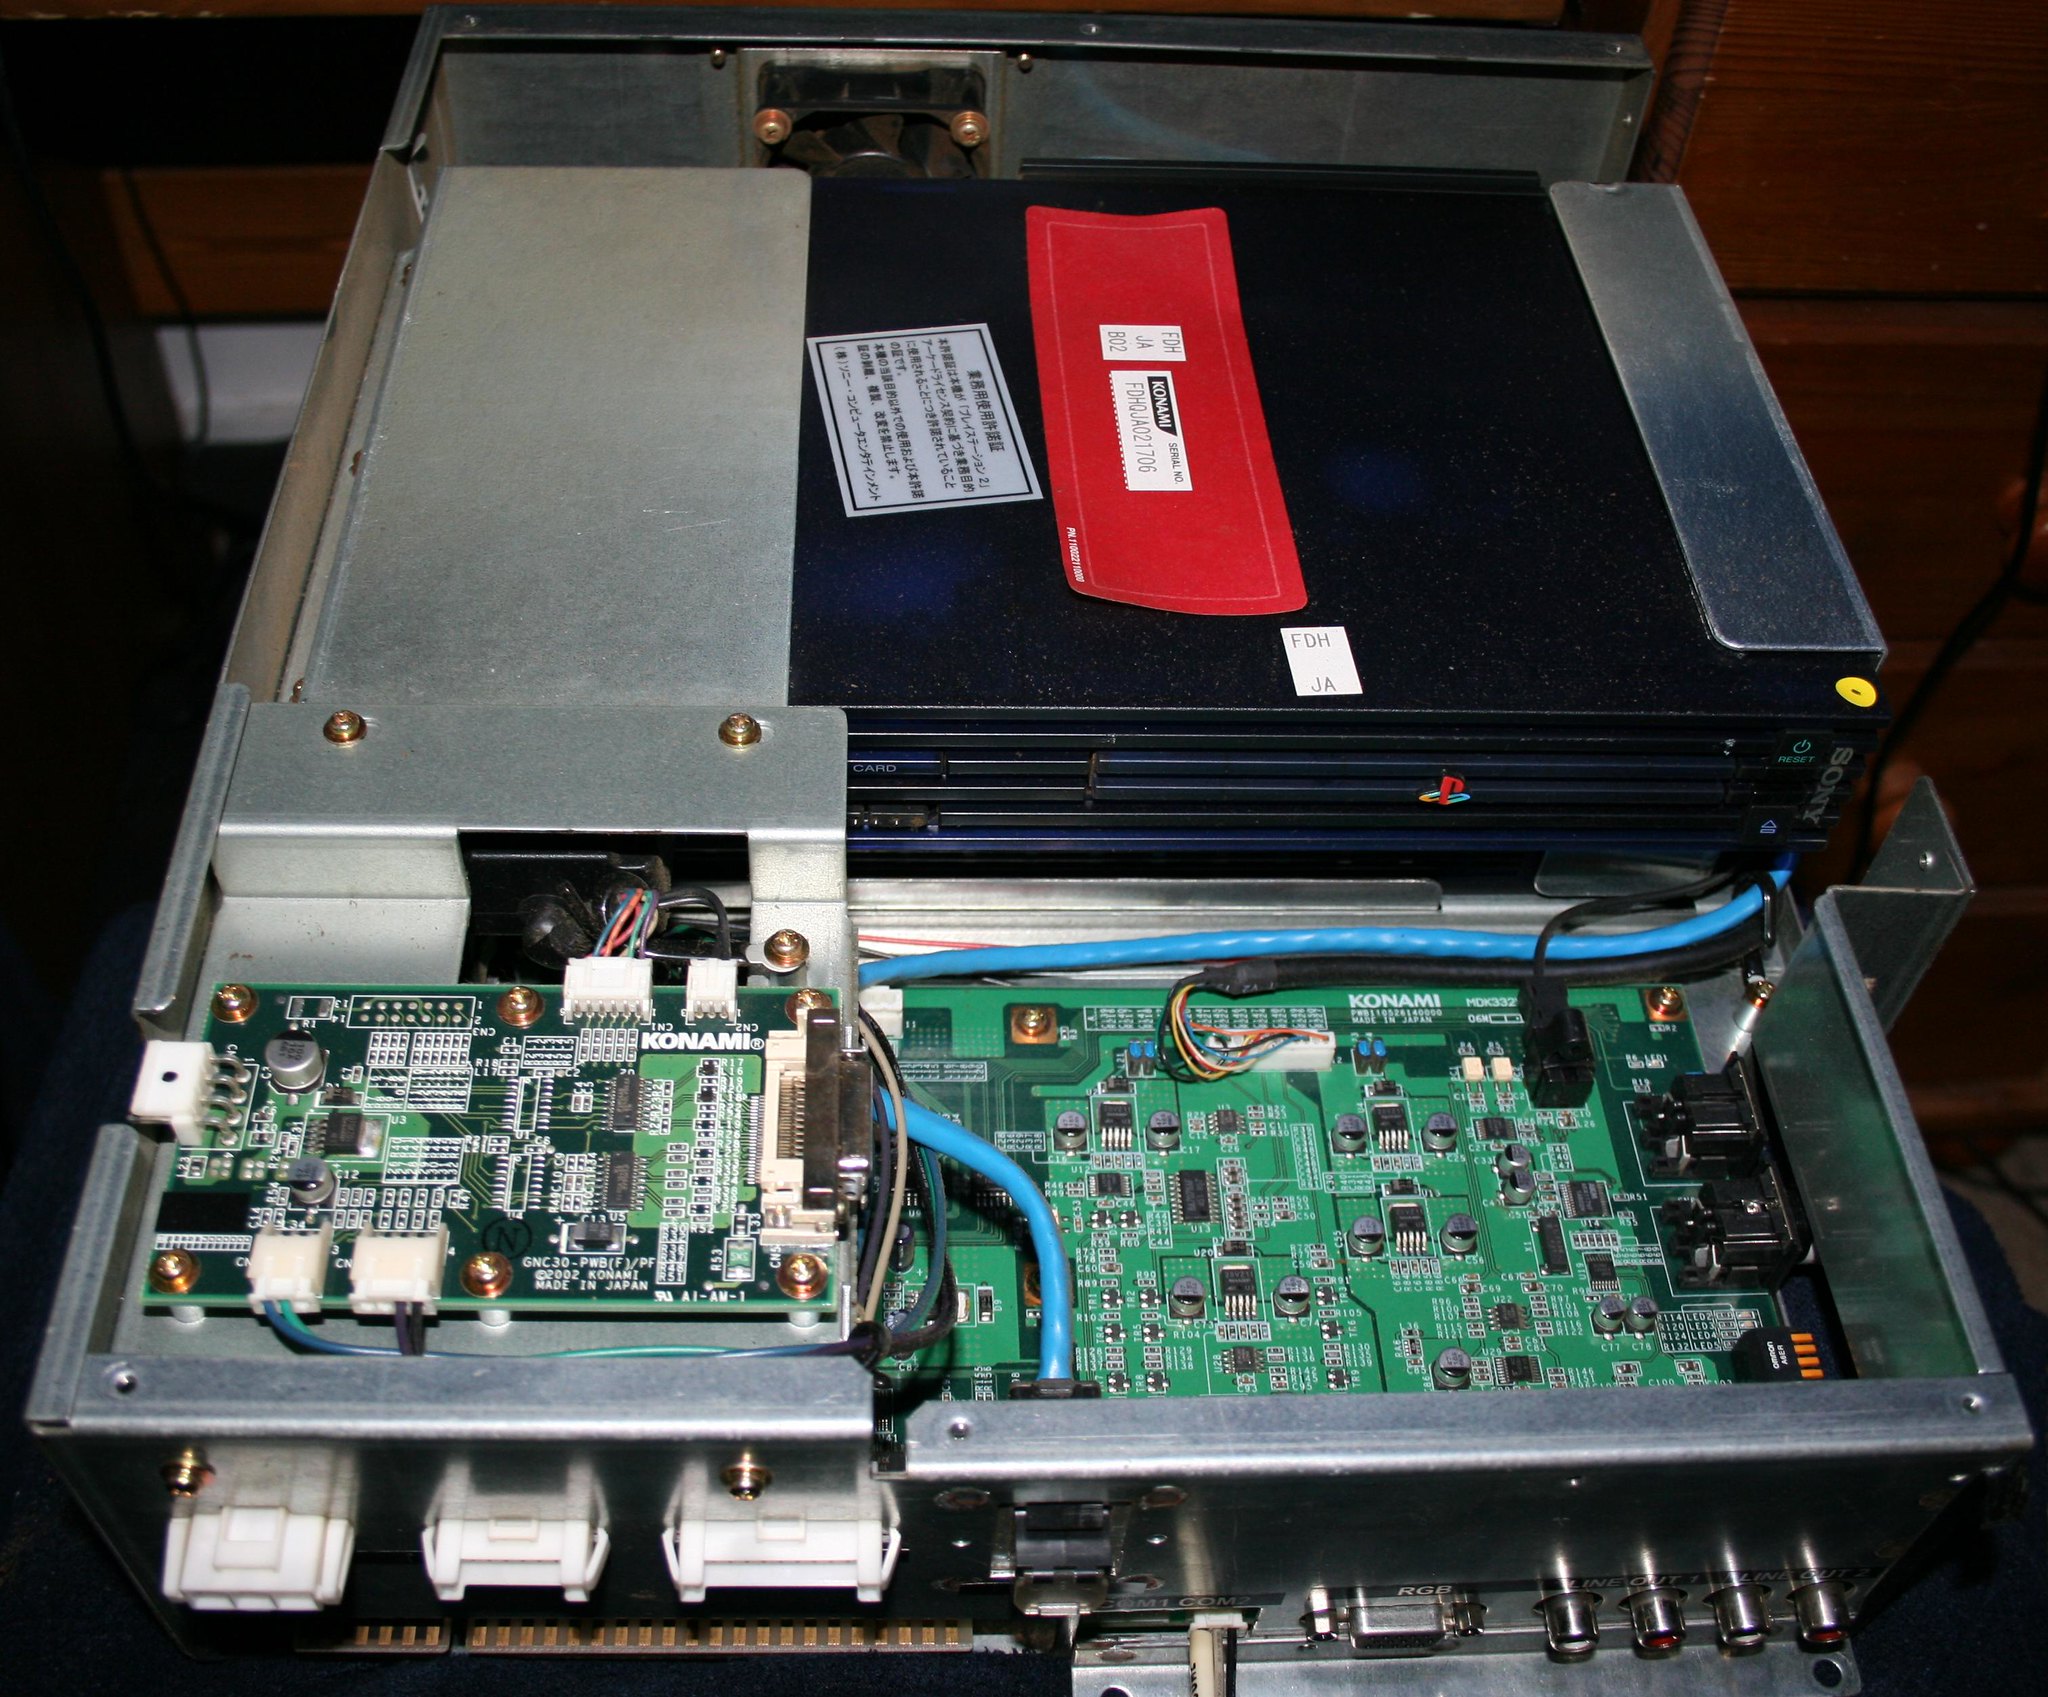
Prior to this iteration of cabinet, there used to be a Python 2 which was literally Playstation 2 in a metal box with an IO board (the P2IO) connected over USB. These are far more prevelant in the United States, and, as a super fan, I obviously have one.

Photo of the Python 2 by chi-ryu
I thought to myself, wouldn't it be nice for cabinet owners to be able to switch to home-brew or use a driver to allow them to use this IO board with more modern software and home-brew? So I hooked up a beagle and started looking at how it communicated to the PS2. The first thing I noticed was that the enumeration response was only 39 bytes instead of 40. This meant certain USB stacks, particularly with Windows 10, might have trouble with it. But official software ran on XP. The solution for stringent USB stacks in Windows has yet to be determined as many legacy devices suffer this issue and have an incompatibility due to it. It works fine in Linux however.
Beyond the enumeration response, everything looked very similar to the P3IO with the exception of different VIDs and PIDs, bytes in the payload getting re-ordered, the EXTIO going through the virtual com port and a SECOND virtual com port was used for card readers. So I added the (messy) support for this code in my Stepmania 5 build. I have not back-ported to OpenITG, though, my code is portable between the two because I purposefully wrote it that way. The build of Stepmania 5 that I posted earlier has this support in it.
Realizing that newer operating systems also would no longer support the old school Windows XP driver model, and support dropped for newer motherboards & processors, I created a hook to let you use my driver in official software as well called DDRIO-python. You can get it here. This now lets you still run the official software on newer operating systems and motherboards with BOTH P2IO AND P3IO
